 치과소개
치과소개 자연치아살리기
 수면마취
수면마취 임플란트
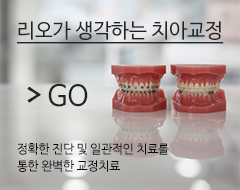
임플란트 치아교정
치아교정 심미치료
심미치료 일반치료
일반치료 사랑니발치
사랑니발치
 진료철학
진료철학 의료진 소개
 둘러보기
둘러보기 첨단장비
첨단장비 소독멸균
소독멸균 리오기공소
리오기공소 무통마취
무통마취 오시는길
오시는길 의료진소개
의료진소개 오시는길
오시는길
 리오가 생각하는 치아
 재근관치료
재근관치료 엠도게인
엠도게인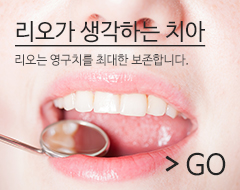 리오가 생각하는 치아
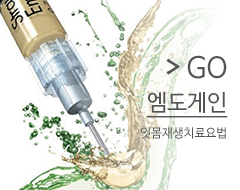 엠도게인
엠도게인
 수면마취란?
 수면 임플란트
 수면 사랑니발치
 주의사항
주의사항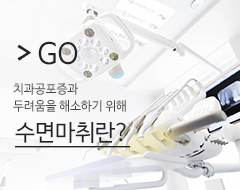 수면마취란?
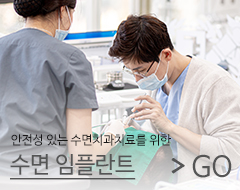 수면임플란트
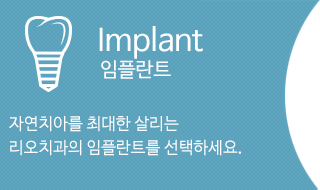
 리오가생각하는임플란트
 UV임플란트
 전체임플란트
 즉시임플란트
 비절개 임플란트
 네비게이션 임플란트
 임플란트 틀니
 임플란트 재수술
 전신질환 임플란트
 임플란트 시술후 관리
 리오가생각하는임플란트
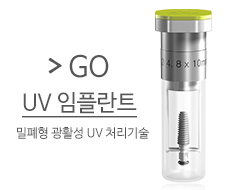 UV임플란트


 심미치료란?
 라미네이트
라미네이트 올세라믹
올세라믹 잇몸성형
잇몸성형 치아미백
치아미백 잇몸미백
잇몸미백 심미치료란?
 라미네이트
라미네이트
 충치치료
충치치료 신경치료
신경치료 치주치료
치주치료 스케일링
스케일링 시린이
시린이 예방치료
예방치료 틀니
틀니 턱관절 치료
 수면 사랑니발치
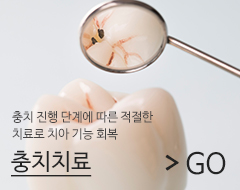 충치치료
충치치료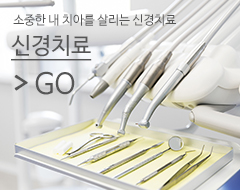 신경치료
신경치료
 리오가생각하는사랑니발치
 사랑니발치
사랑니발치 수면사랑니발치
 주의사항
주의사항 리오가 생각하는 사랑니발치
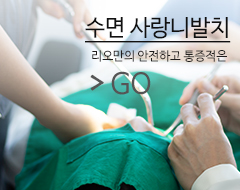 수면사랑니발치
Unlocking the Secrets and Techniques of Making an Adorable Kawaii Cake…
페이지 정보
작성자 Retha 댓글 0건 조회 1,742회 작성일 24-05-29 19:42본문
Introduction:
Kawaii, derived from the Japanese tradition, embodies the idea of cuteness. It has gained immense reputation worldwide for its delightful and endearing qualities. One of the crucial delightful forms of expressing kawaii artwork is thru cute and interesting cakes. In this article, we'll information you thru the steps essential to attract a kawaii cake that can make your heart and style buds flutter!
Materials Needed:
To create a kawaii cake drawing, you may need the following supplies:
1. Paper
2. Pencil
3. Eraser
4. Fantastic-tipped markers or colored pencils
5. Ruler (non-obligatory)
6. Compass (elective)
Step 1: Sketching the fundamental Outline
Start by drawing a simple, medium-sized oval form to type the cake's base. This will be the foundation of your kawaii cake. Be sure that the top of the oval is slightly curved to create a mushy and inviting look.
Step 2: Drawing Layers of Delight
Divide the oval into a number of horizontal sections, representing the layers of the cake. These divisions will be within the form of comfortable, gentle curves to maintain the overall kawaii charm. Experiment with totally different numbers of layers to fit your preference and creativity.
Step 3: Adding kawaii pink shoes Eyes and Smile
In kawaii artwork, expressive eyes and a heat smile are essential options. Draw two giant, circular eyes positioned in the highest layer of the cake. These eyes should be barely elongated and positioned near the cake's heart. Give them a cute, cheerful expression by drawing small oval-formed lashes beneath them. Simply beneath the eyes, sketch a gentle curved smile to complete the face.
Step 4: Adorning Your Cake with Cute Sprinkles
Each kawaii cake deserves a touch of whimsy, so let's add sprinkles on prime! Use small circles or tiny triangles to create sprinkles of various colors, organized randomly throughout the cake's layers. These sprinkles might be simple or have adorable facial expressions, enhancing the general cuteness issue.
Step 5: Creating Irresistible Frosting
To give the cake a fluffy look, concentrate on the layers' edges. Outline each layer, making small, cloud-like shapes using mushy curves. This method will characterize the scrumptious and inviting frosting that encases the cake. For an additional contact, add easy lines or dots with your marker or colored pencil to create texture.
Step 6: Personalizing Your Kawaii Cake
Unleash your imagination and personalize your kawaii cake by adding decorations! It might be something that resonates with you - hearts, stars, fruit, animal icons, or even miniature illustrations of your favorite characters. Be happy to experiment with colors, patterns, and designs that really mirror your unique style.
Step 7: Including Finishing Touches
Assessment your drawing and make any needed changes. Erase any seen construction strains, sharpen the main points, and guarantee that every aspect harmonizes with the general kawaii aesthetic. Think about using markers or colored pencils to deliver your kawaii cake to life with vibrant colours.
Conclusion:
Creating a kawaii cake drawing lets you indulge within the playful world of cuteness whereas expressing your creative flair. Following these step-by-step directions, you possibly can quickly learn to draw a whimsical kawaii cake that will convey joy to each your eyes and imagination. So, seize your pencils, let your creativity circulate, and embrace the kawaii tradition by designing a delightful cake that can make hearts skip a beat!
댓글목록
등록된 댓글이 없습니다.